
Mounting speakers inside your walls isn’t just about aesthetics, it’s a legitimate way to achieve balanced surround sound without sacrificing floor space or dealing with cable runs across the room. In-wall home theater speakers have improved dramatically in the last few years, with better driver materials, easier installation brackets, and designs that work in typical residential wall cavities. Whether you’re finishing a basement theater or upgrading a living room setup, understanding how these speakers perform, what installation involves, and where they make sense will save you from costly mistakes and disappointing sound quality.
Table of Contents
ToggleKey Takeaways
- In-wall home theater speakers mount flush within wall cavities to save floor space and create a seamless, aesthetic audio setup without visible cable runs.
- Choose speakers with 88 dB sensitivity or higher and verify mounting depth compatibility with your wall cavity (2×4 walls offer ~3.5 inches, 2×6 walls offer ~5.5 inches) before purchasing.
- In-wall speakers perform best as surrounds, height channels for Dolby Atmos, or front speakers in rooms where floor speakers aren’t practical, but always pair them with a dedicated subwoofer for proper bass response.
- DIY installation is realistic if you’re comfortable cutting drywall and fishing wire, but multi-floor runs, fire-rated walls, or six+ speaker systems benefit from professional installation at $100–$200 per speaker.
- Avoid critical mistakes like skipping a subwoofer, ignoring room acoustics, mismatched speaker brands, cutting before measuring, and using undersized wire gauge for long cable runs.
What Are In-Wall Home Theater Speakers and How Do They Work?
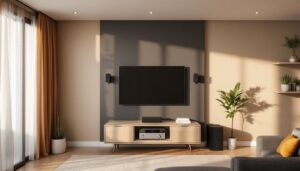
In-wall speakers mount flush with the wall surface, using the wall cavity as an enclosure. Unlike bookshelf or tower speakers that use a sealed or ported cabinet, in-wall models rely on the space between studs, typically 14.5 inches wide (between standard 16-inch on-center studs) and whatever depth your wall cavity provides.
Most in-wall theater speakers feature a tweeter for high frequencies and one or more woofers for mid-bass. The drivers are mounted to a frame that attaches to the drywall via dog-ear clamps or rotating brackets, no need to screw into studs in most cases. A perforated or magnetic grille covers the speaker, paintable to match your wall.
Sound travels differently when a speaker uses an open wall cavity versus a sealed box. You’ll lose some bass control and efficiency compared to a quality tower speaker, but modern in-wall designs include features like back boxes (enclosed chambers that mount behind the speaker) and ported cavities to improve low-end response. For home theater use, in-walls work best as surrounds, height channels (for Atmos), or front left/right speakers in rooms where floor speakers aren’t practical.
Benefits of Choosing In-Wall Speakers for Your Home Theater
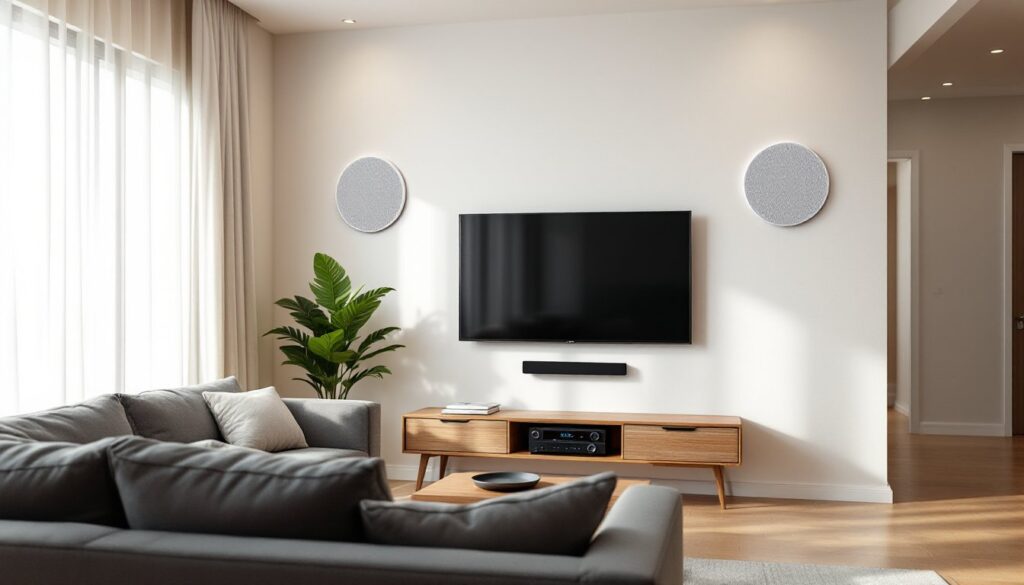
In-wall speakers clear floor space, which matters in smaller rooms or multipurpose spaces where you can’t dedicate corners to tower speakers and stands. Kids, pets, and foot traffic won’t knock them over, and there’s no speaker wire trailing along baseboards.
Aesthetically, they disappear. Once painted, only the grille is visible, often mistaken for a vent or alarm sensor. This makes them popular in formal living rooms, bedrooms, and anywhere a visible speaker would clash with decor.
From a performance standpoint, in-walls can deliver convincing surround sound in a small room when positioned correctly. They also integrate well with Dolby Atmos systems: ceiling-mounted models (technically in-ceiling, but the same concept) handle height channels without requiring floor-standing upfiring modules.
Installation can be cleaner during new construction or a gut remodel, since you can run wire before drywall goes up. But even in finished walls, a retrofit install is manageable with the right tools and a willingness to patch and paint.
Key Features to Consider Before Buying In-Wall Speakers
Sensitivity rating (measured in dB) tells you how loud a speaker gets with a given amount of power. Look for 88 dB or higher if you’re using a mid-powered AV receiver (50–75 watts per channel). Lower sensitivity speakers need more amplifier power to reach the same volume.
Frequency response indicates the range of sound the speaker can reproduce. A rating of 60 Hz to 20 kHz is typical for in-wall models. If you’re not using a subwoofer (which you should be for home theater), look for a model that dips closer to 50 Hz or includes a larger woofer, 6.5 inches or 8 inches.
Impedance is usually 8 ohms, which works with nearly all AV receivers. Some models offer 4-ohm or 6-ohm options: verify your receiver can handle the load, especially if you’re running five or more speakers.
Mounting depth is critical. Measure your wall cavity before you buy. Standard 2×4 walls offer about 3.5 inches of depth: 2×6 walls give you roughly 5.5 inches. If your speaker requires 4 inches and you’ve got a 2×4 wall, it won’t fit. Account for insulation, electrical wire, and any HVAC ducting in the cavity.
Back boxes are optional enclosures that isolate the speaker from the wall cavity. They improve bass response, reduce sound bleed to adjacent rooms, and can simplify installation if your wall has irregular framing. They add cost and require more depth, but the performance gain is noticeable.
Speaker Placement and Configuration Tips
For a 5.1 setup, place the front left and right speakers flanking your screen, ideally at ear level when seated. The center channel goes directly above or below the screen. Surrounds should sit to the sides or slightly behind the listening position, about 2–3 feet above ear level.
In a 7.1 or Atmos configuration, add rear surrounds or height speakers. In-ceiling speakers work well for Atmos height channels: aim to position them a few feet in front of and behind the main listening area, not directly overhead.
Avoid placing in-wall speakers where studs, plumbing, or electrical boxes will interfere. Use a stud finder and check for existing wiring before cutting. If your wall cavity is full of insulation, you may need to remove some around the speaker location to prevent muffling.
Installing In-Wall Home Theater Speakers: DIY vs. Professional Help
DIY installation is realistic if you’re comfortable cutting drywall, fishing wire, and patching/painting. You’ll need a drywall saw or jab saw, stud finder, wire fish tape or rods, speaker wire (14-gauge or 12-gauge for runs over 50 feet), and basic hand tools.
Steps:
- Plan the layout. Mark speaker locations with painter’s tape. Use a level to ensure even height.
- Check for obstructions. Use a stud finder to locate studs, and drill a small pilot hole to confirm the cavity is clear.
- Cut the opening. Trace the speaker’s template (usually included) and cut carefully. Go slow, it’s easier to enlarge a hole than to fix one that’s too big.
- Run the wire. Fish speaker wire from your receiver location to each speaker cutout. Leave 12–18 inches of extra wire at the speaker end. In finished walls, you may need to cut small access holes at stud bays and patch them later.
- Mount the speaker. Connect the wire to the speaker terminals (observe polarity: positive to positive, negative to negative). Insert the speaker into the cutout and tighten the dog-ear clamps or rotating feet until snug. Don’t overtighten, you can crack drywall.
- Install the grille and test.
When to hire a pro: If you’re running wire through multiple floors, dealing with fire-rated walls (common in multi-family buildings), or installing a system with six or more speakers, a professional installer will save time and ensure code compliance. Electricians or low-voltage specialists can also handle in-wall wire runs if you’re not confident fishing cable. Expect to pay $100–$200 per speaker for labor, depending on complexity.
Some jurisdictions require low-voltage wiring permits or fire-stopping at wall penetrations. Check local building codes before you start.
Top Mistakes to Avoid When Choosing In-Wall Speakers
Skipping the subwoofer. In-wall speakers, even with 8-inch woofers, can’t match the low-frequency output of a dedicated subwoofer. If you want movie explosions and deep bass, budget for a sub.
Ignoring room acoustics. Hard surfaces (tile, glass, bare drywall) reflect sound and cause echo. Add area rugs, curtains, or acoustic panels if your room sounds harsh during testing. Many smart home technology enthusiasts overlook this step when upgrading audio systems.
Buying speakers that don’t match. Mixing brands or model lines for your front three channels (left, center, right) can create tonal mismatches. Stick with the same series or at least the same manufacturer for the front stage.
Cutting before measuring. Measure twice, cut once. Use the cardboard template that comes with the speaker, and double-check stud locations. A misplaced cutout is a permanent repair job.
Underpowering the system. If your receiver outputs 50 watts per channel and you’re driving five low-sensitivity speakers, you’ll run out of headroom fast. Match your amp’s power output to your speakers’ needs, and don’t assume “it’ll be fine.”
Forgetting wire gauge. For runs under 50 feet, 16-gauge speaker wire is adequate. For longer runs or high-power setups, use 14-gauge or 12-gauge. Thicker wire reduces resistance and preserves sound quality. Many product reviews for home audio gear recommend this approach for reliability.
Overlooking vapor barriers or insulation. If you’re installing in an exterior wall, cutting through a vapor barrier can cause moisture problems. Seal any penetrations with appropriate caulk or tape, and avoid compressing insulation directly against the speaker’s back.
Conclusion
In-wall home theater speakers offer a practical solution for immersive audio without cluttering your space, but they demand careful planning and honest assessment of your room’s layout and your own skill level. Measure your wall cavities, match your speaker specs to your receiver’s output, and don’t skip the subwoofer or room treatment. If you’re comfortable with drywall work and basic wiring, a DIY install is well within reach. For complex runs or multi-room systems, bringing in a pro ensures clean results and code compliance.