
Building a home theater doesn’t require a dedicated basement or a contractor. With the right planning and equipment, any spare room, garage space, or even a living room corner can deliver an immersive viewing experience that rivals commercial cinemas. The key is understanding how components work together, display size, speaker placement, seating distance, and room acoustics all play critical roles. This guide walks through the essential steps to set up a home theater that fits the space, budget, and viewing habits of the household, covering everything from screen selection to cable management. Whether starting from scratch or upgrading an existing setup, these practical recommendations will help create a theater worth settling into.
Table of Contents
ToggleKey Takeaways
- A successful home theater setup requires careful planning of room dimensions, display size, and seating distance—with a minimum of 10 feet from screen to first row being a standard baseline.
- Audio quality is critical to immersion; a 5.1 surround sound system with proper speaker placement, including a center channel above or below the screen and side surrounds at ear level, creates a professional soundstage.
- Home theater displays come down to TVs (simple and bright up to 85 inches) or projectors (cinematic scale at 100-120 inches), with projector lumens requirements depending on room lighting conditions.
- Acoustic treatment using panels, bass traps, and soft furnishings on hard surfaces dramatically improves sound quality and prevents muddy audio that ruins the viewing experience.
- Proper cable management with labeled, correctly-rated wiring and organized connections simplifies troubleshooting and maintains a clean installation.
- Optimal viewing angles of 30-40 degrees and adjustable lighting with blackout curtains ensure comfortable, immersive viewing whether using daytime projectors or evening TV setups.
Planning Your Home Theater Space
The first step is evaluating the room’s shape, size, and existing features. A rectangular room typically works better than a square one because it minimizes parallel wall reflections that can muddy sound. Measure the room dimensions, length, width, and ceiling height, and note the locations of windows, doors, electrical outlets, and HVAC vents.
Room size dictates screen size and seating capacity. A minimum of 10 feet from the screen to the first row of seating is a good baseline for most setups. Smaller rooms (under 12 x 12 feet) work fine but may limit seating options and speaker placement.
Check if the room shares walls with bedrooms or common areas. Soundproofing may be necessary to avoid disturbing others, especially if planning late-night movie sessions. Adding mass-loaded vinyl behind drywall or installing acoustic panels can reduce sound transmission without major construction.
Consider whether the space will be dedicated or multi-purpose. A dedicated theater allows for light control, permanent mounting, and optimal speaker placement. Multi-purpose rooms require flexibility, motorized screens, movable seating, and concealed wiring help maintain functionality for other uses.
Finally, budget for electrical upgrades. Most home theaters benefit from dedicated 20-amp circuits to handle amplifiers, projectors, and other equipment. If the room lacks sufficient outlets or the breaker box is distant, consult a licensed electrician. Electrical work often requires permits and must comply with NEC (National Electrical Code) standards.
Choosing the Right Display for Your Home Theater
The display is the centerpiece. The choice comes down to large-format TVs or projectors, each with trade-offs.
TVs (65-85 inches) offer simplicity. They’re bright, sharp, and require no additional setup. Modern 4K and 8K models deliver excellent color accuracy and HDR performance. But, anything larger than 85 inches becomes prohibitively expensive, and even the largest screens can feel small in a dedicated theater room.
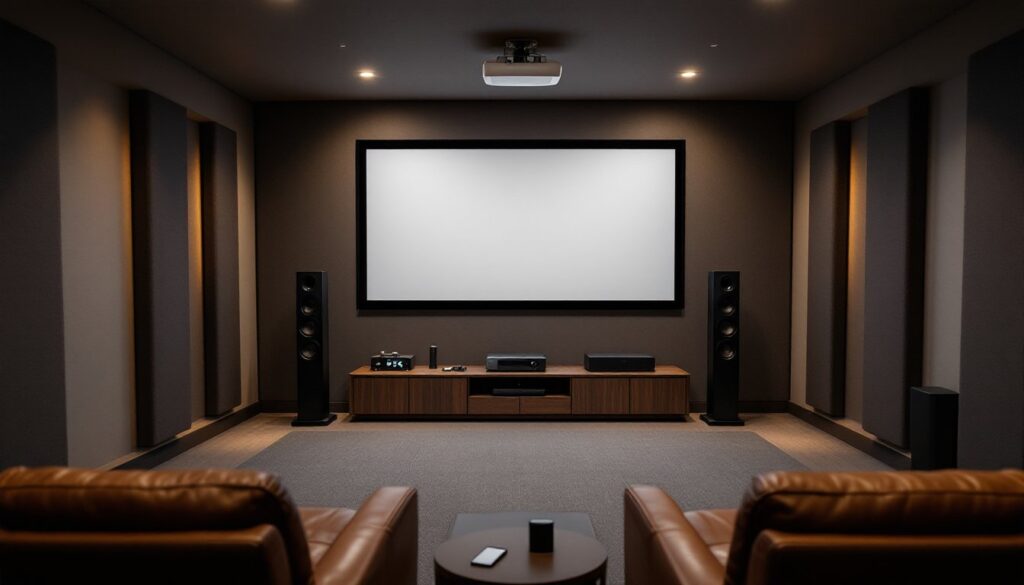
Projectors provide true cinematic scale. A 100- to 120-inch image is achievable in most rooms with a throw distance of 10-15 feet, depending on the projector’s throw ratio. Short-throw and ultra-short-throw models work in tighter spaces, mounting just inches from the screen.
When selecting a projector, lumens matter. For a light-controlled room, 1,500-2,500 lumens is sufficient. Rooms with ambient light require 3,000+ lumens. Resolution should be at least 1080p, but 4K projectors have dropped in price and are worth the investment for future-proofing.
Screen material also affects image quality. A matte white screen works for most setups, while gray screens improve contrast in rooms with some ambient light. Fixed-frame screens provide the flattest surface, but retractable screens offer flexibility in multi-use spaces.
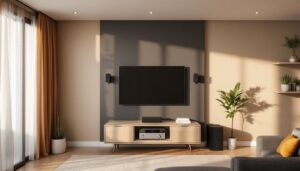
For those seeking affordable home theater setups, starting with a quality 65-inch TV and upgrading to a projector later is a practical path. Placement is critical, mount the TV or projector at eye level when seated, typically 24-36 inches from the floor for the center of the screen.
Setting Up Your Audio System
Audio quality often matters more than picture quality in creating immersion. A basic 5.1 surround sound system includes five speakers (left, center, right, left surround, right surround) plus one subwoofer. A 7.1 system adds two rear surround speakers for deeper soundstage.
Speaker placement follows specific guidelines. The center channel sits directly above or below the screen, it handles dialogue and anchors the soundstage. Left and right front speakers should be equidistant from the screen, angled slightly toward the main seating position, forming a 22-30 degree angle from center.
Surround speakers go to the sides or slightly behind the seating area, mounted 2-3 feet above ear level. Rear speakers (in a 7.1 setup) mount directly behind the seating, also above ear level. The subwoofer placement is more flexible, corner placement often maximizes bass output, but experimentation is key. Try the “subwoofer crawl”: place the sub in the main seat, play bass-heavy content, and crawl around the room to find where bass sounds best, then place the sub there.
Receivers power the system and decode audio formats like Dolby Atmos and DTS:X. Match the receiver’s channel count to the speaker setup. A 7.2-channel receiver supports 7 speakers and 2 subwoofers. Ensure it has enough HDMI inputs for all devices (Blu-ray player, streaming box, game console).
Wire gauge matters for speaker cable runs over 50 feet, use 14-gauge or 12-gauge wire to minimize signal loss. Label each cable at both ends to simplify troubleshooting.
For those interested in smart integration, many modern receivers sync with home automation platforms featured on sites like Digital Trends, allowing voice control and scene programming. Wear hearing protection when testing speakers at high volumes during calibration.
Seating and Viewing Distance Considerations
Seating position determines how immersive the experience feels. The Society of Motion Picture and Television Engineers (SMPTE) recommends a viewing angle of 30-40 degrees for the best experience, meaning the screen should fill roughly one-third of the viewer’s field of vision.
For a 100-inch diagonal screen, optimal seating distance is 8-13 feet. For a 120-inch screen, 10-16 feet works best. Sitting too close causes eye strain: too far diminishes immersion.
Seating options range from dedicated home theater recliners to sectional sofas. Theater-style seating with cup holders and power recline enhances comfort during long viewing sessions, but standard furniture works fine if the budget is tight. Ensure there’s at least 18 inches of clearance between rows for walkability.
If installing riser platforms for tiered seating, build them from 2×4 or 2×6 framing covered with ¾-inch plywood. Secure the frame to wall studs and the floor with structural screws. Risers improve sightlines, especially in rooms with lower ceilings. A 12-inch riser height is standard for a second row.
Consider accessibility. If someone in the household uses a wheelchair or has mobility concerns, ensure the seating layout accommodates easy entry and exit. Avoid placing the best seat in a tight corner.
Optimizing Lighting and Acoustics
Light control and sound treatment elevate a good theater into a great one.
Lighting should be adjustable. Install dimmer switches or smart bulbs to control ambient light levels. Blackout curtains or cellular shades block external light, critical for daytime viewing with a projector. Avoid placing lights directly above or behind the screen, they cause glare and wash out the image.
Bias lighting, a low-intensity LED strip mounted behind the TV or screen, reduces eye strain during dark scenes without affecting picture quality. Use a 6500K color temperature LED strip for the most neutral effect.
Acoustic treatment addresses echo, reverberation, and bass buildup. Hard surfaces (drywall, tile, hardwood) reflect sound, creating muddy audio. Soft materials absorb it.
Start with acoustic panels on the side walls at the first reflection points, where sound from the front speakers bounces toward the seating. Hang them at ear level. Bass traps in the front corners tame low-frequency buildup. Ceiling clouds (panels suspended horizontally) reduce overhead reflections.
Thick carpeting or area rugs help absorb sound from the floor. If the room has hardwood or tile, a large rug under the seating area makes a noticeable difference.
DIY acoustic panels can be built from rockwool insulation wrapped in fabric and mounted in simple wood frames. For those comfortable with power tools and basic carpentry, guides on Popular Mechanics offer detailed plans for cost-effective solutions. Wear gloves and a dust mask when handling insulation materials.
Connecting and Organizing Your Equipment
Cable management keeps the installation clean and troubleshooting simple.
Run all HDMI cables from source devices (Blu-ray, streaming box, game console) to the receiver, then one HDMI cable from the receiver to the display. Use certified high-speed HDMI cables for 4K content, cheap cables can cause dropouts or bandwidth issues over runs longer than 10 feet.
For in-wall cable runs, use CL2-rated or CL3-rated cable, which meets fire safety codes for enclosed spaces. Standard HDMI cables aren’t rated for in-wall use. Check local building codes, some jurisdictions require conduit for low-voltage wiring.
Cable raceways or cord covers hide surface-mounted wires along baseboards or up walls. Paintable raceways blend into the room better than plastic versions.
Label every cable at both ends with a label maker or colored tape. This saves hours during troubleshooting or equipment swaps.
Power management is critical. Use a surge protector with enough outlets for all components. Some receivers and projectors draw significant current, check the manual for amperage requirements and ensure the surge protector can handle the load. Never daisy-chain power strips.
Ventilation matters for stacked equipment. AV receivers generate heat, especially when driving multiple speakers. Leave at least 3 inches of clearance above and behind the receiver. If installing equipment in a closed cabinet, add a ventilation fan or leave the back panel open.
Finally, program the remote or integrate with a universal control system. Learning to use a multi-device universal remote takes patience, but it simplifies daily operation and eliminates the clutter of four or five remotes on the coffee table.
Conclusion
A well-planned home theater enhances how a household experiences entertainment, turning a spare room into a retreat worth using. By focusing on the fundamentals, display selection, speaker placement, proper seating distance, and acoustic treatment, the result is a setup that delivers immersive sound and picture without overcomplicating the process. Take time with the planning stage, invest in quality components where it matters, and don’t skip the details like cable management and light control. The effort pays off every time the lights dim.