
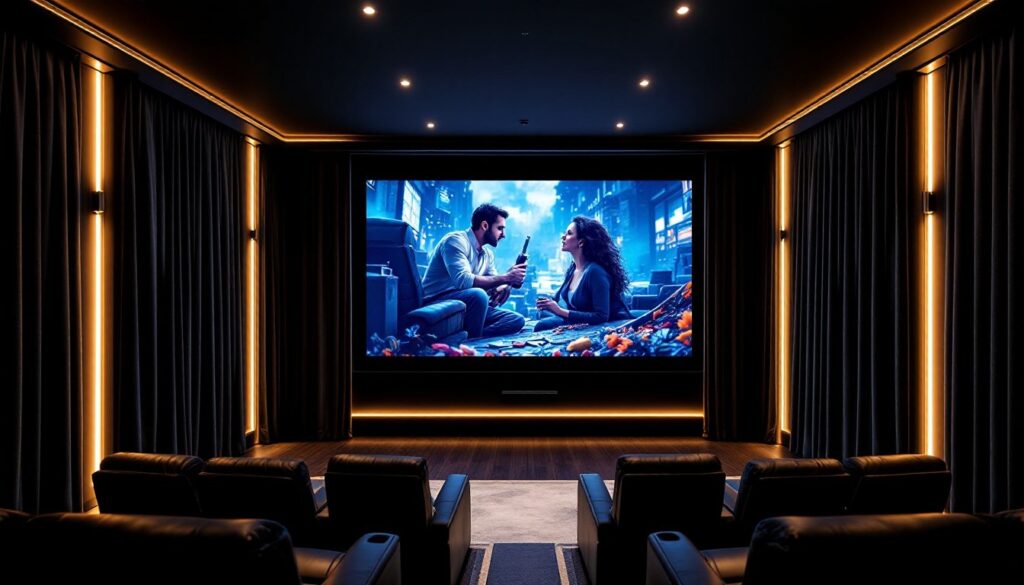

Setting up a dedicated home theater involves more than a good projector and surround sound. Lighting and acoustics can make or break the experience, and that’s where the right curtains come in. Home theater curtains serve dual purposes: they block ambient light that washes out the screen and help control sound reflections that muddy dialogue and effects. Whether retrofitting a living room or building a dedicated media room, understanding curtain options, materials, and installation methods ensures a setup that rivals commercial theaters without the ticket price.
Key Takeaways
- Home theater curtains serve dual purposes by blocking ambient light to enhance screen contrast and absorbing sound reflections to improve dialogue clarity.
- Blackout curtains with three-layer construction and 12–16 oz fabrics are most effective, while acoustic curtains should feature theatrical-grade velour or velvet hung in deep folds for superior performance.
- Ceiling-mounted tracks with wrap-around brackets and side channels eliminate light gaps better than wall-mounted installations and create a more professional, theatrical appearance.
- Theatrical-grade velvets weighing 18–25 oz per square yard offer superior light and sound control, but mid-weight options (12–16 oz) work adequately for smaller rooms or budget builds.
- DIY home theater curtain setups start around $200–$500 using blackout panels and traverse rods, while custom motorized systems cost $2,500–$6,000+ but integrate seamlessly with home automation.
Why Home Theater Curtains Matter for Your Viewing Experience
Light control tops the list. Even a small amount of ambient light, from windows, hallway doors, or recessed lighting, reduces contrast ratio and washes out darker scenes. Projectors are particularly vulnerable: unlike TVs, they rely on reflected light, so every stray photon degrades image quality.
Acoustics matter just as much. Hard surfaces (drywall, glass, hardwood floors) reflect sound waves, creating echoes and muddying dialogue. Heavy curtains absorb mid- to high-frequency reflections, tightening the soundstage and improving clarity. This is especially noticeable in rooms with vaulted ceilings or large windows.
Thermal insulation is a bonus. Thick curtain fabrics reduce heat transfer through windows, stabilizing room temperature and lowering HVAC costs. In a windowless basement theater, wall-mounted curtains still add acoustic dampening and a finished, professional look.
Curtains also hide equipment and wiring. Floor-to-ceiling drapes can conceal speakers, projector mounts, or cable runs, keeping the focus on the screen. Motorized track systems add a touch of theater-style drama, opening and closing curtains with the press of a button.
Types of Home Theater Curtains to Consider
Blackout Curtains for Maximum Light Control
Blackout curtains use tightly woven or coated fabrics to block nearly all exterior light. The most effective versions feature three-layer construction: a decorative face fabric, a black or white foam core, and a backing layer. Cheaper single-layer blackouts (often labeled “room darkening”) typically block 80–95% of light, which still allows screen glare during daytime viewing.
Look for fabrics with an acrylic or rubber backing. These coatings seal the weave and prevent pinhole light leaks. Grommet, rod pocket, or ripplefold headings work fine, but ensure the curtain overlaps the window frame by at least 4–6 inches on all sides. Wall- or ceiling-mounted tracks eliminate gaps better than standard curtain rods.
Weight matters. Lighter blackout curtains (under 10 oz per square yard) tend to billow and let light seep around edges. Opt for 12–16 oz fabrics for windows and even heavier theatrical velvets (18–25 oz) for wall treatments.
Acoustic Curtains for Superior Sound Quality
Acoustic curtains are designed to absorb sound rather than just block light. They typically use heavy velour, velvet, or multi-layer cotton blends with mass-loaded vinyl (MLV) cores. The thicker and denser the material, the better the absorption, especially in the 500–4,000 Hz range where dialogue lives.
True acoustic curtains aren’t cheap. Expect to pay $30–$80 per linear foot for theatrical-grade velour with proper density. Lightweight “soundproof” curtains sold online often provide minimal acoustic benefit, they’re marketed to reduce noise transmission (think apartment walls), not improve in-room acoustics.
For best results, hang acoustic curtains in deep folds (150–200% fullness). Flat curtains reflect more sound than they absorb. Pair them with blackout liners if light control is also a priority: some manufacturers offer dual-purpose fabrics, though they’re pricier.
Consider placement carefully. Acoustic curtains work best on side and rear walls where early reflections are strongest. Front-wall treatments (behind the screen) are less critical unless the room is exceptionally reflective.
Choosing the Right Fabric and Color
Velvet and velour dominate home theater applications. Their dense pile absorbs sound and light effectively, and they drape well without looking institutional. Polyester velvets cost less and resist fading: cotton velvets feel more luxurious but may require professional cleaning.
Color choice affects light reflection. Black is the gold standard for dedicated theaters, it absorbs stray light and keeps attention on the screen. Charcoal, navy, or deep burgundy work if black feels too stark. Avoid light colors entirely: cream or beige curtains reflect ambient light back onto the screen, killing contrast.
Some designers incorporate creative interior color schemes for multi-purpose media rooms, but in a dedicated theater, function trumps aesthetics. Save bold colors for accent pillows or wall art behind the seating area.
Fabric weight and weave determine performance. Theatrical-grade velvets weigh 18–25 oz per square yard and offer superior light and sound control. Mid-weight options (12–16 oz) suffice for smaller rooms or budget builds. Anything under 10 oz is cosmetic, not functional.
Fire ratings matter if local codes apply. Commercial theaters use NFPA 701-certified fabrics, which resist flame spread. Residential codes rarely require this, but it’s worth considering if you’re building a high-end setup or plan to sell the home.
Lining adds versatility. A blackout liner paired with a decorative face fabric lets you match room decor without sacrificing light control. Interlining (a middle layer of felt or flannel) boosts acoustic absorption and adds body to the drape.
Installation Tips for a Professional Look
Mount curtain tracks to the ceiling, not the wall. Ceiling-mounted tracks eliminate light gaps at the top and create a cleaner, more theatrical look. Use heavy-duty traverse rods rated for the curtain weight, cheap rods sag and bind under the load of 16+ oz fabrics.
For blackout performance, install wrap-around brackets that position the rod 3–4 inches from the wall. This allows curtains to overlap the window frame completely. Side channels (L-shaped brackets that hold the curtain edge flush to the wall) eliminate vertical light leaks.
Ripplefold or pinch-pleat headings provide consistent, professional folds. Ripplefold tracks use carriers spaced evenly along the track, creating uniform S-curves: they’re common in commercial installations. Pinch pleats sewn into the fabric offer a more traditional look and work with standard traverse rods.
Avoid grommet or tab-top curtains in home theaters. They don’t close completely, leaving gaps that leak light and reduce acoustic effectiveness.
Motorized tracks add convenience and wow factor. Somfy, Lutron, and Budget Blinds offer systems that integrate with home automation. Expect to spend $500–$2,000 depending on track length and features. DIY-friendly options like IKEA’s Fyrtur motorized blinds can be hacked with curtain rods for budget builds.
PPE and tools: Wear safety goggles when drilling into ceilings (drywall dust and debris fall directly into eyes). A stud finder is essential, drywall anchors won’t support heavy curtains. Use 3-inch deck screws into ceiling joists or blocking for secure mounting. A cordless drill and laser level ensure straight installations. Have a helper on hand: ceiling-mounted tracks are awkward to align solo.
Budget-Friendly DIY Options vs. Custom Solutions
DIY budget builds start around $200–$500 for a 10×12-foot room. Buy blackout curtains from home improvement stores (JCPenney Home, Eclipse, and Nicetown offer decent mid-weight options at $20–$40 per 84-inch panel). Pair them with ceiling-mounted traverse rods from home design retailers or hardware stores ($30–$80). Add wrap-around brackets and side channels to eliminate light leaks.
For acoustic improvement on a budget, layer blackout curtains with heavy fleece or moving blankets. It’s not elegant, but moving blankets (80 lb density) absorb sound surprisingly well and cost $10–$15 each. Hang them behind decorative curtains to hide the industrial look.
Mid-range solutions ($800–$2,000) involve theatrical-grade fabrics purchased by the yard. Fabric suppliers like Rose Brand, Joann, or online theater suppliers sell 16–20 oz velvets for $15–$30 per linear yard (54-inch width is standard). Have a local seamstress add pinch pleats and blackout liners, or tackle it yourself with a heavy-duty sewing machine.
Install commercial-grade traverse rods (Kirsch, Graber) rated for the weight. Budget $150–$400 for rods and hardware depending on room size.
Custom motorized systems run $2,500–$6,000+ for dedicated theaters. Professional installers fabricate curtains to exact dimensions, integrate motorized tracks with control systems (Crestron, Control4), and ensure perfect light sealing. This makes sense for high-end builds or if resale value matters.
Permits aren’t typically required for curtain installation, but if you’re adding blocking between ceiling joists (recommended for heavy theatrical curtains), check local codes. Always mount into structural members, drywall anchors fail under sustained loads.
Compare options based on room use. A dedicated theater justifies custom solutions. A multi-purpose family room where practical home upgrades matter more than perfection does fine with DIY blackout curtains and standard hardware. Either way, proper installation and fabric choice deliver results that outlast the initial effort.