

Every homeowner should know how to turn off their water supply. When a pipe bursts at 2 a.m., or a toilet supply line springs a leak, the difference between minor damage and a flooded room comes down to seconds. The main water shut off valve controls water flow into the entire house, and knowing its location and operation isn’t optional, it’s essential home maintenance. This guide walks through finding, operating, and maintaining the valve that stands between a homeowner and thousands of dollars in water damage.
Key Takeaways
- Every homeowner should know how to locate and operate their main water shut off valve before an emergency occurs—quick action can prevent thousands of dollars in water damage.
- Water shut off valves come in two types: gate valves (round handle, multiple turns) and ball valves (lever handle, 90-degree turn), with ball valves being more reliable in newer homes.
- Check basements, utility rooms, garages, and along foundation walls for indoor valves; in warm climates, look for outdoor meter boxes or cleanout boxes near the street.
- Practice turning off the main water valve twice yearly by rotating gate valves clockwise until they stop and positioning ball valve levers perpendicular to the pipe to prevent mineral buildup from seizing the valve.
- Address common problems like leaking packing nuts (tighten or replace) and stuck valves (apply penetrating oil), but replace frozen or worn gates valves immediately to avoid catastrophic failure during emergencies.
- Open a faucet after closing the home water shut off valve to verify proper closure and relieve residual pressure; reopen slowly to avoid water hammer damage to pipes and fittings.
What Is a Home Water Shut Off Valve and Why It Matters
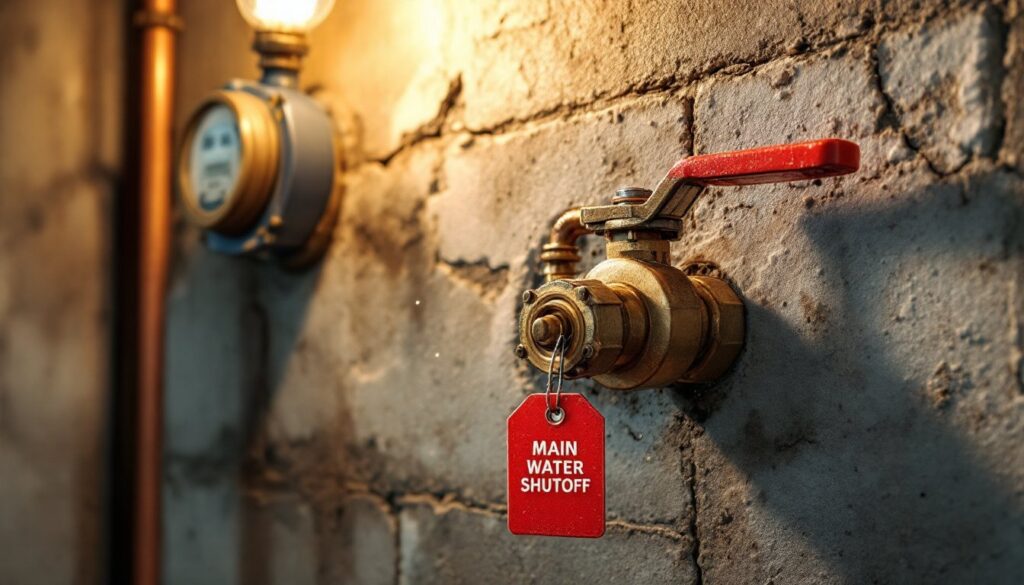
The main water shut off valve is the primary control point where municipal or well water enters a home. It’s typically a gate valve or ball valve installed on the main supply line, usually ¾-inch to 1-inch diameter depending on the house size and plumbing system.
Gate valves feature a round handle that requires multiple turns to open or close fully. They’re common in older homes but prone to seizing up if not operated occasionally. Ball valves have a lever handle that turns 90 degrees from open to closed, they’re more reliable and increasingly standard in newer construction.
This valve matters for several critical reasons. During plumbing emergencies, burst pipes, major leaks, water heater failures, it stops water flow instantly, preventing catastrophic damage. It’s also necessary when replacing fixtures, upgrading appliances, or doing any work on the home’s plumbing system. Many emergency plumbing situations require immediate action, and fumbling around looking for the valve wastes precious time.
Beyond emergencies, the main valve allows homeowners to depressurize the system before winter vacations (in cold climates) or perform routine maintenance. Insurance companies increasingly ask about shut-off valve accessibility during claims, they know that quick action limits damage.
Where to Find Your Main Water Shut Off Valve
The location depends on climate, home age, and whether the property uses municipal water or a well. Most homes have both an indoor valve (homeowner-controlled) and an outdoor curb stop valve (utility-controlled).
Indoor Valve Locations
In cold-climate regions, the main valve sits inside the home to prevent freezing. Check these spots first:
• Basement or crawl space: Look along the foundation wall facing the street, typically 3-5 feet above the floor where the main supply line penetrates the foundation
• Utility room or mechanical room: Often near the water heater, furnace, or where other utilities enter
• Garage: In homes without basements, especially slab-on-grade construction
• Interior wall behind access panel: Sometimes hidden in a closet or bathroom on the side of the house facing the street
The valve is usually within a few feet of where the water meter sits (if there’s an indoor meter). Follow the pipe from the meter toward the street-facing wall, the valve should be on that line. In homes with copper or PEX supply lines, the main valve often has a brass or bronze body that stands out from other plumbing.
Outdoor Valve Locations
In warm climates, the main valve may be outside in a ground-level box or meter pit. Common locations include:
• Meter box: A plastic or concrete box near the street, usually within 3-5 feet of the property line. The shutoff valve sits on the house side of the meter.
• Cleanout box: Separate from the sewer cleanout, marked with a small rectangular or round plastic lid
• Side of house: Sometimes mounted to an exterior wall in a recessed box, common in moderate climates
Outdoor valves typically require a meter key or curb key, a long-handled wrench available at hardware stores for $10-20. The street-side valve (curb stop) is utility property: homeowners should only use it in extreme emergencies when the indoor valve fails. Most municipalities have regulations about who can operate curb valves, and turning it without authorization can violate local codes.
If the valve location remains elusive, check the home inspection report, original plumbing plans, or contact the local water utility, they often have records showing shut-off locations for each property.
How to Turn Off Your Main Water Supply
Before any plumbing emergency hits, practice this procedure so it becomes automatic:
-
Clear the area around the valve. Remove boxes, storage items, or anything blocking access. The valve should always be reachable in under 30 seconds.
-
Identify the valve type. Gate valves (round handle) turn clockwise to close, the rule is “righty-tighty, lefty-loosey.” Ball valves (lever handle) turn 90 degrees: the lever should be perpendicular to the pipe when closed, parallel when open.
-
Turn off the water slowly. For gate valves, turn the handle clockwise until it stops, usually 5-10 full rotations. Don’t force it past the stopping point: overtightening can damage the valve seat. For ball valves, rotate the lever a quarter-turn until it’s perpendicular to the pipe.
-
Open a faucet to verify. Turn on a sink faucet at the lowest point in the house. Water should run for a few seconds as the system drains, then stop. This confirms the valve closed properly and relieves residual pressure.
-
For extended shutdowns, drain the system further. Open faucets at the highest and lowest points in the house, flush toilets, and consider draining the water heater if the water will be off for more than a few days (especially in freezing conditions).
Safety note: Older gate valves may be stuck from years of non-use. Forcing a seized valve can snap the stem or crack the valve body, creating a worse leak. If the valve won’t budge with moderate hand pressure, apply penetrating oil like PB Blaster, wait 15 minutes, and try again. If it’s still stuck, that’s a sign the valve needs replacement, note it for future attention but don’t force it during an emergency.
When turning off water at individual fixtures rather than the main, the same principles apply: slow, steady turns and never force stuck valves.
After shutting off water for repairs, turn the valve back on slowly. Opening it too fast can cause water hammer, pressure surges that stress pipes and fittings. Open gate valves fully: leaving them partially open accelerates wear on the valve seat.
Common Problems with Water Shut Off Valves and How to Fix Them
Main shut-off valves are mechanical devices that degrade over time. Recognizing and addressing problems before an emergency is smart maintenance.
Leaking packing nut: Water drips from around the valve stem when turned. The packing nut (the hexagonal nut where the handle meets the valve body) may need tightening. Use an adjustable wrench to snug it down one-eighth turn at a time, overtightening compresses the packing material too much. If tightening doesn’t stop the leak, the packing material itself has failed and needs replacement. This is a straightforward fix: turn off water at the curb valve, remove the packing nut, replace the graphite or Teflon packing cord, and reassemble. Total cost: $5-10 in materials.
Valve won’t turn: Corrosion and mineral buildup freeze gate valves in place. As mentioned earlier, penetrating oil helps, but if the valve hasn’t been operated in 5+ years, there’s a real risk it’s seized permanently. Proper valve maintenance includes exercising it twice a year, turn it fully closed, then fully open. This prevents mineral deposits from locking the mechanism.
If a valve is frozen solid, replacement is the only solution. This requires shutting off water at the curb stop (contact the utility if you don’t have access). Valve replacement is within reach for experienced DIYers but often worth hiring a plumber, if something goes wrong, there’s no backup shut-off. Budget $200-400 for professional replacement, including the valve and labor.
Valve leaks when closed: Gate valves develop this problem as the rubber or metal disc (the “gate”) wears out. The valve turns fine but doesn’t create a watertight seal. Ball valves rarely have this issue, one reason they’re preferred in new installations. There’s no fix for a worn gate valve: replacement is necessary.
Valve handle breaks off: Common with old, corroded brass valves. If the stem is still accessible, use locking pliers to turn it as a temporary measure. Replace the valve as soon as possible.
Converting from gate to ball valve: When replacing a failed gate valve, upgrade to a full-port ball valve (one where the opening equals the pipe diameter). Full-port valves maintain maximum flow and pressure. Expect to pay $30-60 for a quality brass ball valve in ¾-inch or 1-inch sizes. Look for models with a drain port, a small cap on the valve body that lets you drain residual water from the system, useful during winterization.
Permit requirements: In most jurisdictions, replacing the main shut-off valve doesn’t require a permit if it’s a like-for-like swap on the homeowner’s side of the meter. But, any work involving the meter itself or the curb valve requires utility involvement. Always check local codes, some municipalities require licensed plumbers for any main valve work. When in doubt, call the building department.
Conclusion
The main water shut-off valve is the single most important control point in a home’s plumbing system. Locate it now, label it clearly, and test it twice a year to ensure it works when needed. A valve that hasn’t moved in a decade is a ticking time bomb, exercise it regularly and replace it at the first sign of trouble. When disaster strikes, knowing exactly where that valve sits and how it operates makes the difference between a small repair and a major insurance claim.